Technique
One of the most important rules of painting in general is to follow the form. This means using curved brush strokes to paint round surfaces and straight brush strokes to paint flat surfaces. If you paint a round shape with straight lines, it just won’t look right. Think of the way the a globe looks, with its lines of latitude and longitude. When you paint an apple, you’ll need to make your brush strokes work like lines of latitude and longitude.

Sphere (Wikimedia Commons)
|
Consider the illustration on the left.
Without the curved lines running around it in two directions, this would look like a flat circle. Our brains translate this two-dimensional diagram into the illusion of a three-dimensional sphere. Exactly the same effect takes place when you paint a round object with curved lines. Make your brush strokes follow the form of a three-dimensional object, and your two-dimensional painting will create the illusion of three-dimensionality. |
Another thing you’ll notice about the picture of the sphere is that the strongest lines are in the area closest to us. The lines around the outer edges are lighter. This helps to make the sides of the sphere appear to recede. When you paint your apple, you’ll want to make sure that the edges are lighter than the part of the apple that is closest to you.
If you are painting a flat surface, try to keep your brush strokes straight and avoid creating curves.
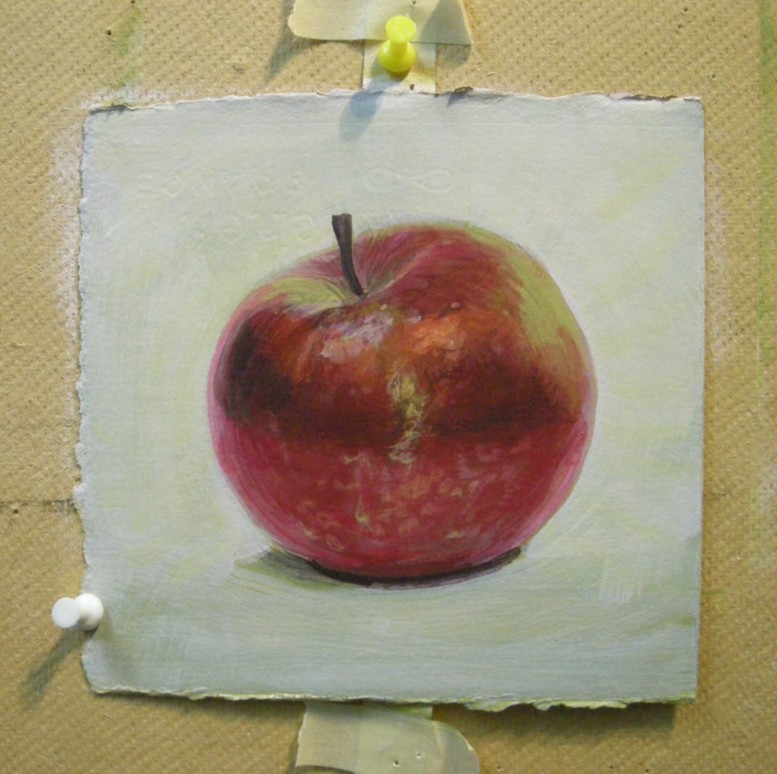
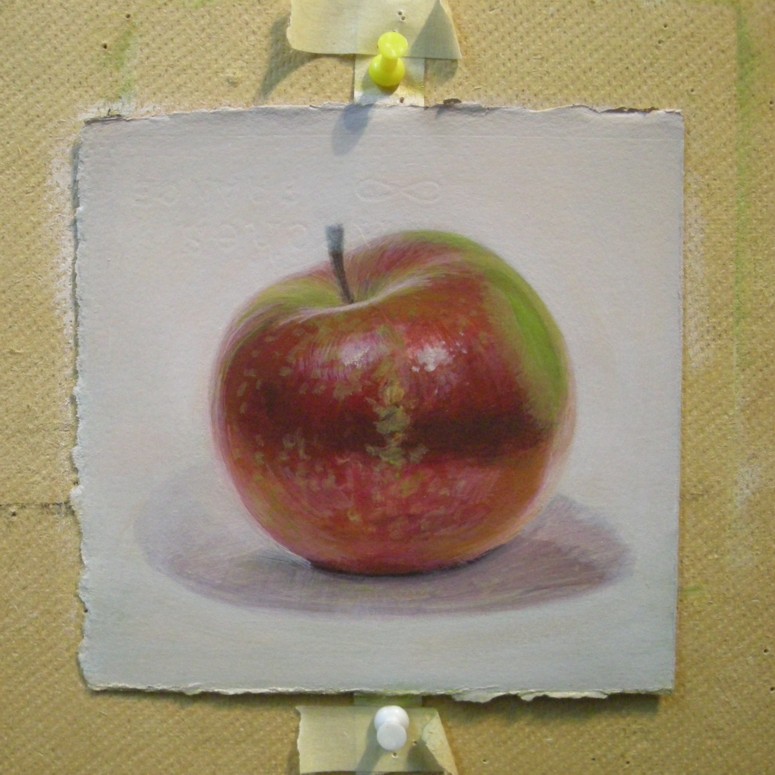
Now let's get back to the painting. After about an hour more of building up the paint, the apple now looks like this:
If you are painting a flat surface, try to keep your brush strokes straight and avoid creating curves.
Now let's get back to the painting. After about an hour more of building up the paint, the apple now looks like this:
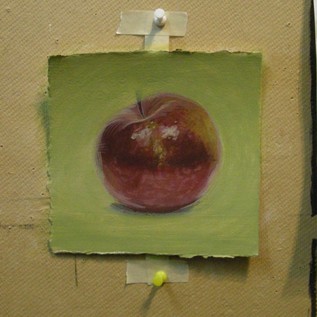
You will notice a few things. First, the apple is starting to look rounder, but it's still a bit of a mess. Second, the paper is starting to curl. It's time to take it off the board for a reshaping. You can do this by gently massaging the back of the painting so that it curls back to its original flatness. The third thing is that I've painted the paper surrounding the apple green. It's not the colour I intend to keep. But I like to put something down that is related to the colours in the apple and will fill the background. It gives me something to build on. It's a test. It helps me to see whether I want the background to be darker or lighter than the apple.
The choice that you make for your background colour will affect how you paint the apple. Because every object reflects light thrown off by its surroundings, the apple itself will reflect a bit of the background and the surface it is sitting on. In addition, the surface that the apple is sitting on will reflect a bit of the apple colour. Every element in the painting is changed by and changes every other element. One of my students came up with a brilliant way of describing this: the objects in a painting "flavour" one another. If you remember to do this, your painting will have a lovely harmony when it is finished.
I like to think of the way I paint this effect as painting what the objects do, and not what the objects are. This concept may help you to examine your subject more closely as you paint. It might not be doing what you think it is. Only by looking closely at how your subject and its surroundings affect each other will you really begin to see it properly.
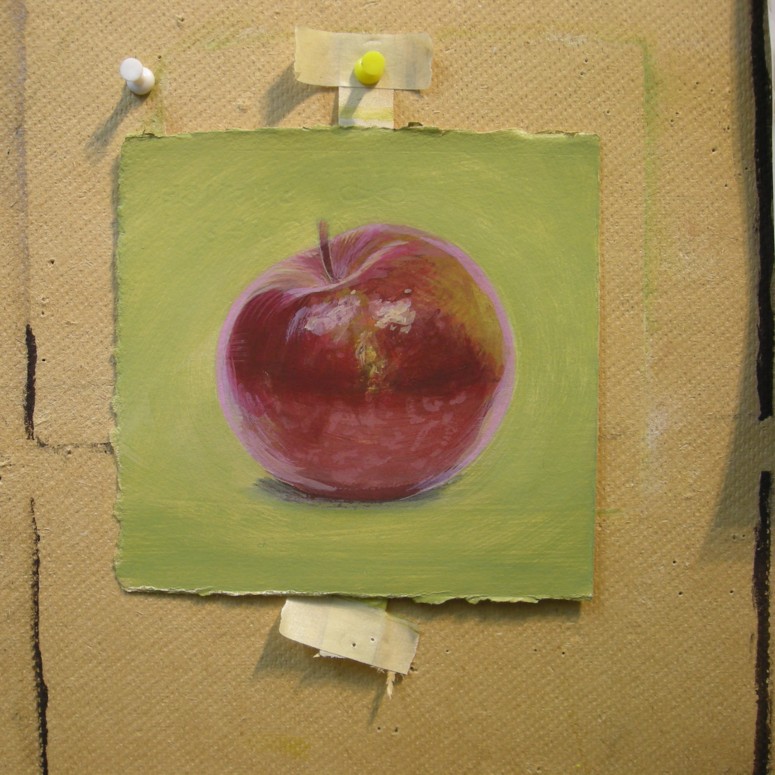
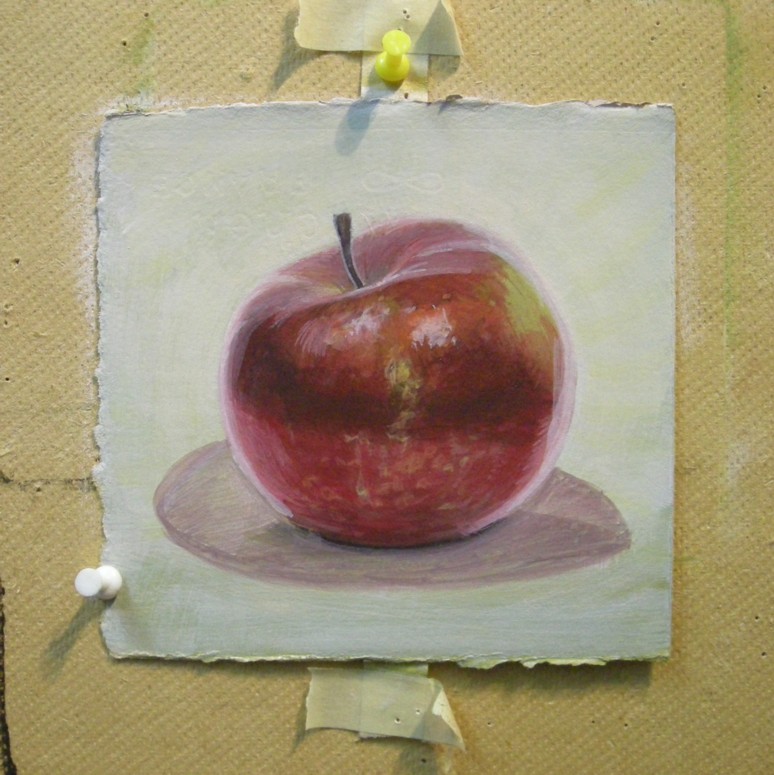
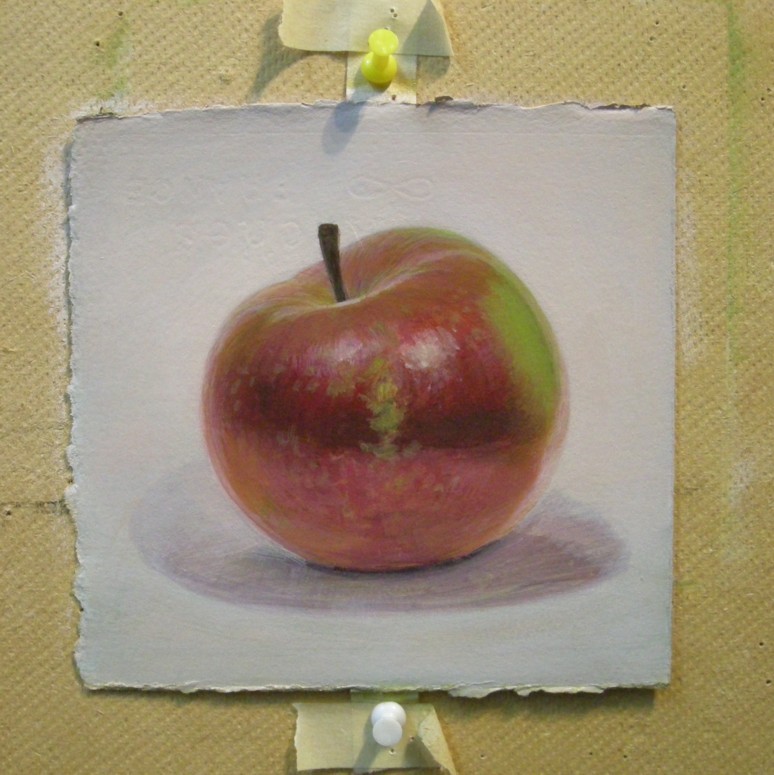
Here is a series of photos to show the progress of the painting over the course of another couple of hours. You don't have to know exactly where you're going at this stage. Feel free to test colours out; you can always paint over them. You might want to think of this stage as making mistakes and correcting them. Egg tempera is not about colouring in. It is about building layer upon layer of colour. It can start out being quite messy. As you go along, each layer will be informed by the ones underneath. Gradually, your painting will become cleaner and more resolved.
The choice that you make for your background colour will affect how you paint the apple. Because every object reflects light thrown off by its surroundings, the apple itself will reflect a bit of the background and the surface it is sitting on. In addition, the surface that the apple is sitting on will reflect a bit of the apple colour. Every element in the painting is changed by and changes every other element. One of my students came up with a brilliant way of describing this: the objects in a painting "flavour" one another. If you remember to do this, your painting will have a lovely harmony when it is finished.
I like to think of the way I paint this effect as painting what the objects do, and not what the objects are. This concept may help you to examine your subject more closely as you paint. It might not be doing what you think it is. Only by looking closely at how your subject and its surroundings affect each other will you really begin to see it properly.
Here is a series of photos to show the progress of the painting over the course of another couple of hours. You don't have to know exactly where you're going at this stage. Feel free to test colours out; you can always paint over them. You might want to think of this stage as making mistakes and correcting them. Egg tempera is not about colouring in. It is about building layer upon layer of colour. It can start out being quite messy. As you go along, each layer will be informed by the ones underneath. Gradually, your painting will become cleaner and more resolved.
|
|
|
|
|
|
|
|
|
|
|

|
As the work progresses, the painting becomes increasingly refined. About two-thirds of the way through this series, I switched from a Number 4 round brush to a Number 3. And I used a flat brush to create an airy background which, after further painting, won't have many visible brush strokes.
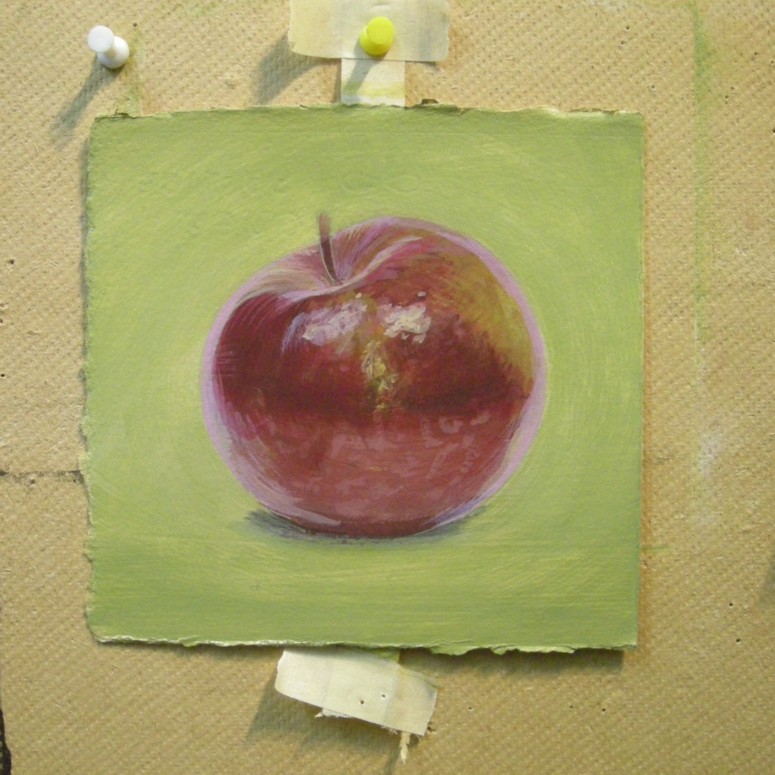
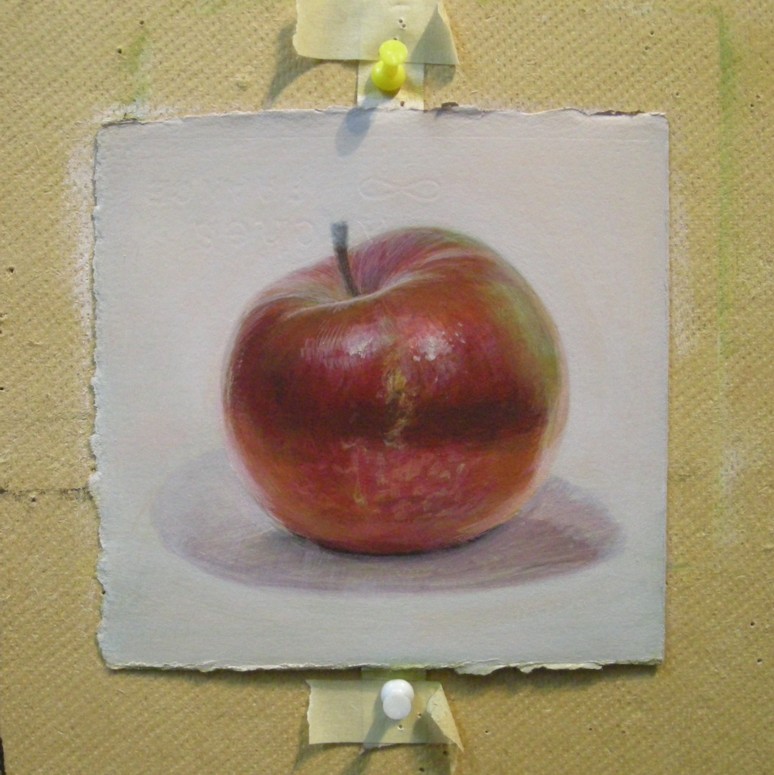
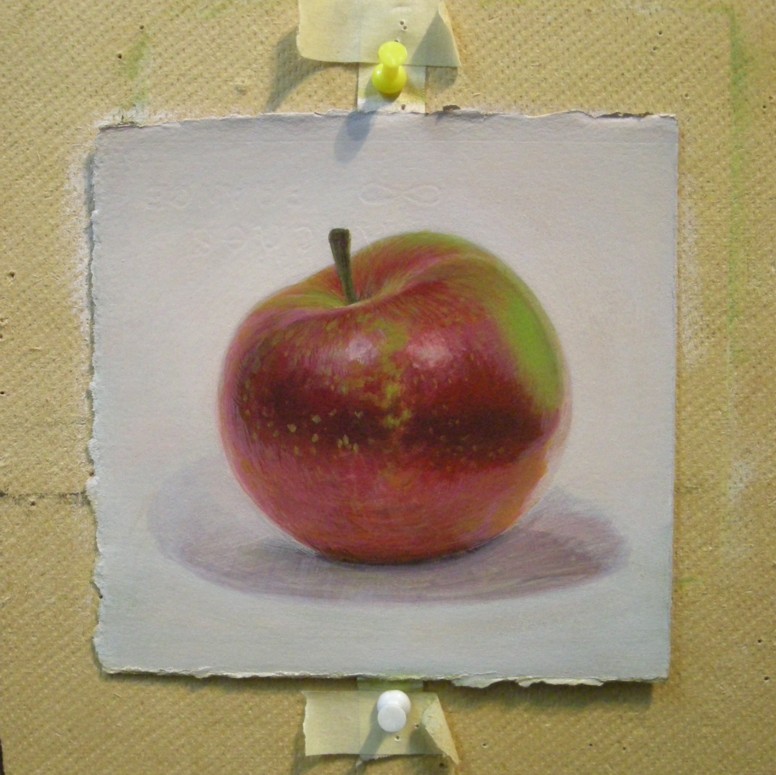
You may also notice subtle changes in the shape of the apple. As the painting becomes more detailed, it becomes more important to correct problems in the shape. Earlier on, these problems don't matter so much because your main goal should be to load up the paper with many layers of paint. As long as you keep the general shape, you have something to work with. Later, as the painting becomes more developed, you won't want to spend time putting in precise details if they're only going to be painted out anyway.
I find that painting outside the lines helps to place the object in the painting. The boundaries can move back and forth a little until the shape seems to have wiggled its way into its final resting place in the picture.
The degree of change from one photo to the next becomes less obvious as the refinement progresses. Your progress may seem to slow down. This is because your time is now starting to go into the small details.
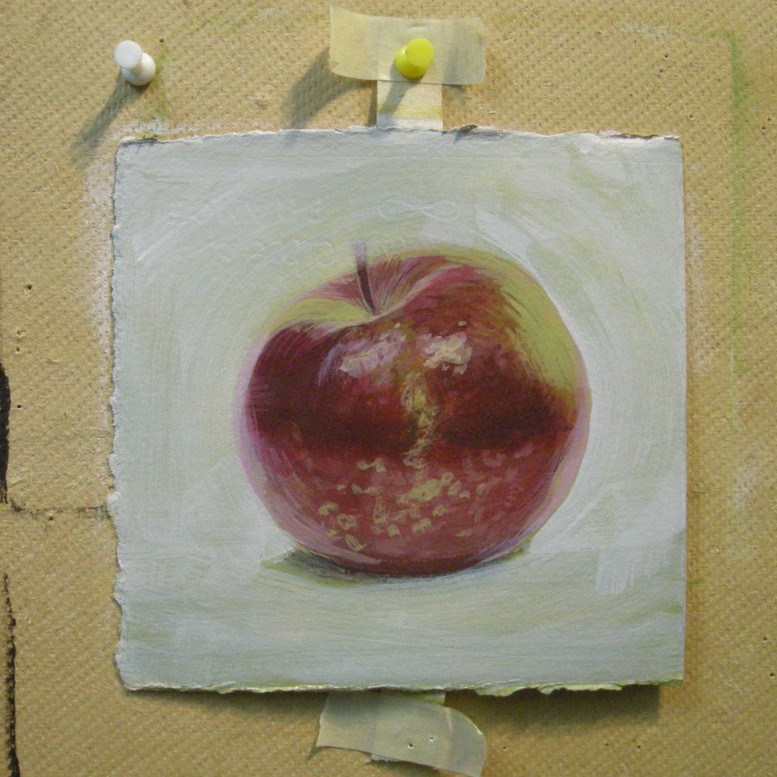
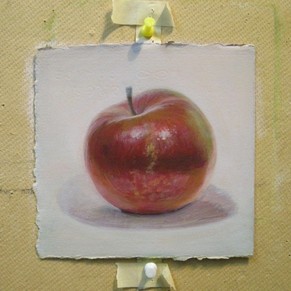
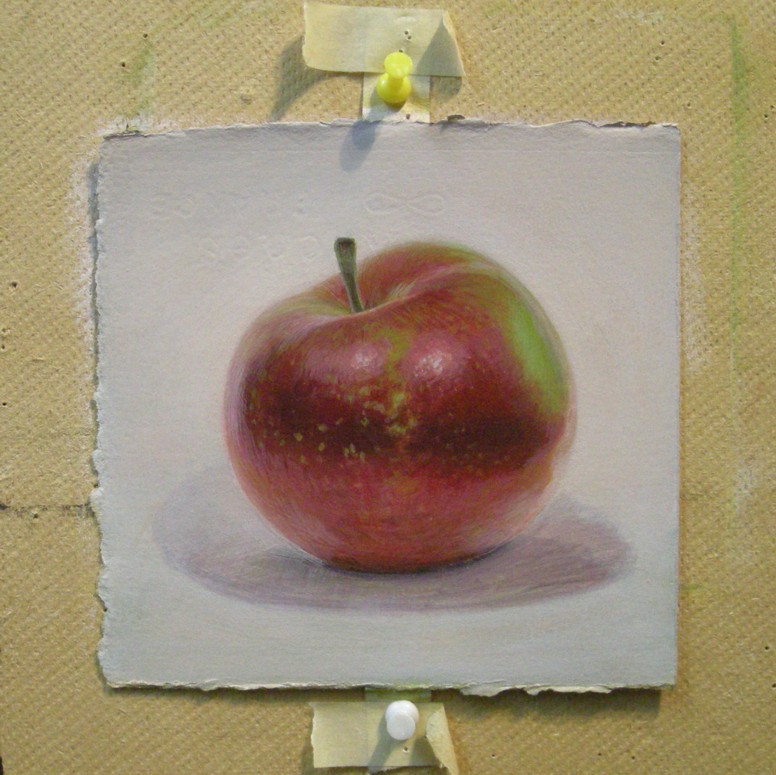
At this stage your painting should have acquired a slightly waxy feel to its surface. If it doesn't, then keep putting on more paint. You should no longer be able to see the surface of your paper or panel coming through the paint. One of the reasons I've put green around the background is to illustrate this. You know that the paper used to be green. Now it's a creamy white. That white is paint, not paper. And it will change again before the painting is done.
